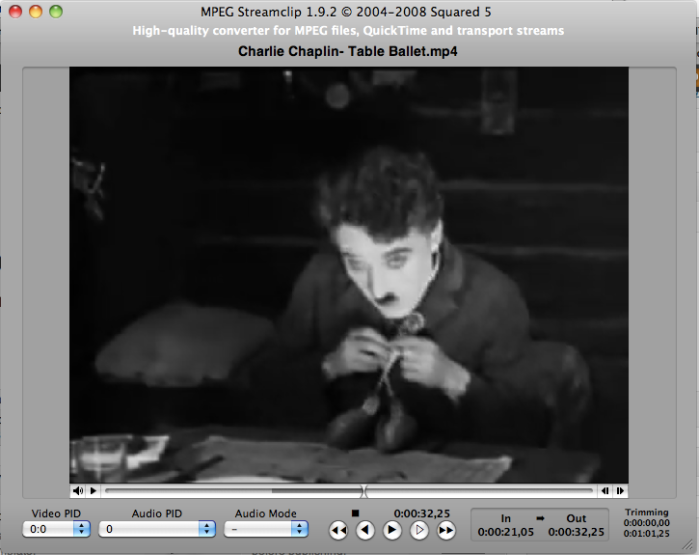
Ok, lets imagine you want to use a video from youtube as part of your work or your creative process. Whether this is to create an animation, or compress a video for editing in Final Cut, or for use in Isadora, you will need a key (free) tools:
1) Rip
> Keepvid.com – http://keepvid.com/
There are a few sites and tools to grab videos from youtube, but I find this one works well enough.
- Copy the url of your youtube video
- paste it into keepvid.com – hit download button

- choose .mp4 filetype – right click and ‘save as’
2) Clip
> MPEG Streamclip – http://www.squared5.com/
Download MPEG Streamclip to top and tail your video to select the bit you want.
- Open your video file in MPEG Streamclip
- MARK IN (i) – Move the playhead to the start of the bit you want, press ‘i’ to set the in point
- MARK OUT (o) – move the playhead to the end of the bit you want, press ‘o’ to set the out point.
3) Encode
> MPEG Streamclip export settings
- EXPORT – go to File > Export – and export your clip with appropriate settings. Depending on your use, then you will need to choose different settings from compression and frame size:
- DV Video Editing: Go to File > Export to DV – choose DV 25 PAL standard compression, select the correct aspect ratio (4:3 standard, or 16:9 square)
- Image sequence for animation / rotoscope – Go to File > Export to Other choose Image Sequence compression. In the options menu, choose JPEG compression and set a frame rate (12 fps). Set appropriate frame size or leave as is.
- Isadora clips: Go to File > Export > Quicktime. Choose Photo Jpeg compression. Set appropriate frame size or leave as is.
- Video for upload to web / iphone – Go to File>Export to MP$, choose H264 compression, or choose an appropriate iTunes preset.
More tutorials on using MPEG Streamclip can be found on youtube, including Encoding Canon 7D files for video editing


